The Upscaling Checklist Every Small Video Team Skips Before Publishing
Summary: Wendy Xu highlights the common oversight by content teams regarding low-resolution footage, emphasizing the need for a strategic approach to upscaling. They suggest creating a checklist to evaluate the necessity and quality of upscaling, considering factors like viewing context, motion, and consistency with other footage. A small team producing explainer videos is used as an example, noting the use of Video2x, a browser-based tool, to improve old clips efficiently. The importance of reviewing upscaled footage against a checklist before publishing is stressed to avoid quality issues and ensure the footage meets necessary standards.
When Low-Resolution Footage Becomes a Blocker
A content team rarely notices resolution problems until the moment a client, a platform, or a reviewer flags them. Maybe it's an old screen recording pulled from a webinar three years ago, a phone clip shot in low light, or a short clip generated by an AI video tool that outputs at a lower resolution than the rest of the project. Whatever the source, the team now has to decide: re-shoot, accept the quality loss, or upscale.
That decision gets made too casually. Someone finds a tool, runs the clip through it, and moves on without checking whether the result actually holds up next to the rest of the footage. The visible artifacts show up later, usually after the video is already published, which turns a five-minute fix into a re-edit.
A better approach is to treat upscaling as a step with its own checklist, not a black box you trust because the before-and-after thumbnail looked fine.
Building the Checklist Before You Upscale Anything
Before running footage through any upscaler, a few questions are worth answering first, because they change what "good enough" means for that specific clip:
What is the final viewing context? A clip embedded in a 4K product demo has different tolerance for artifacts than a clip destined for a 720p social feed.
How much motion is in the source? Fast motion and quick cuts expose upscaling artifacts more than static talking-head shots.
Does the clip need to match footage shot at a different native resolution? If so, consistency across the sequence matters more than raw sharpness of any single clip.
Is there a compressed or watermarked layer already baked into the source, and will the upscale amplify that?
What's the actual output requirement — is 4K genuinely needed, or is the team upscaling because it feels like the safe default?
Answering these before opening a tool turns upscaling from a reflexive step into a deliberate one. It also gives the team a basis for judging the result afterward instead of eyeballing it once and hoping.
A Short-Form Team's Actual Decision Process
Consider a small team producing weekly explainer videos. Their script and voiceover are recorded fresh each time, but they often reuse archival screen captures and older interview clips that were never shot with today's delivery standards in mind. Mixing a crisp new recording with a soft, compressed old clip creates a visible seam in the final cut.
Instead of re-shooting or dropping the old clip, the editor runs it through an upscaling pass, checking it against the criteria above: the final video will be viewed on desktop and mobile at up to 1080p, the clip has moderate motion (a presenter gesturing at a screen), and consistency with the rest of the sequence matters more than hitting a specific resolution ceiling.
This is the kind of scenario where a browser-based tool fits naturally into the workflow — no local software to install, no separate render machine to manage, just a step inserted between sourcing the clip and dropping it into the timeline. According to the product page, Video2x is described as a free AI video upscaler that runs in the browser and can upscale video up to 4K, without a watermark added on any plan. For a team testing whether an old clip is salvageable before committing more edit time to it, that kind of no-install, no-watermark checkpoint lowers the cost of trying.
Reviewing the Result Before It Ships
Running the upscale is the easy part. The review step is where the checklist actually earns its keep:
Play the upscaled clip at the same size and platform it will actually be viewed on — not a full-screen preview that hides compression differences.
Compare it directly against the surrounding footage in the timeline, not in isolation.
Check high-motion segments specifically, since that's where artifacts tend to surface first.
Confirm the audio and any burned-in captions or overlays still line up after the resolution change.
Get a second set of eyes if the clip is going into anything client-facing or paid — a fresh viewer notices seams that the editor, having watched the clip twenty times, no longer sees.
If the clip fails any of these checks, that's useful information too. It might mean the source footage genuinely needs to be re-shot, or that a lower target resolution is the more honest choice for that particular clip.
Where This Leaves You
Upscaling isn't a fix that erases the need for good source footage, and no tool changes that. What it does offer, when the checklist above is applied deliberately, is a way to salvage usable material without derailing a production schedule. Teams that treat it as a reviewed step rather than an assumed one end up with fewer surprises after publishing.
For teams that want to test this on their own footage, Video2x is worth trying against a real clip from an existing project rather than a demo file, since that's the only way to see whether it actually solves the specific consistency problem at hand.
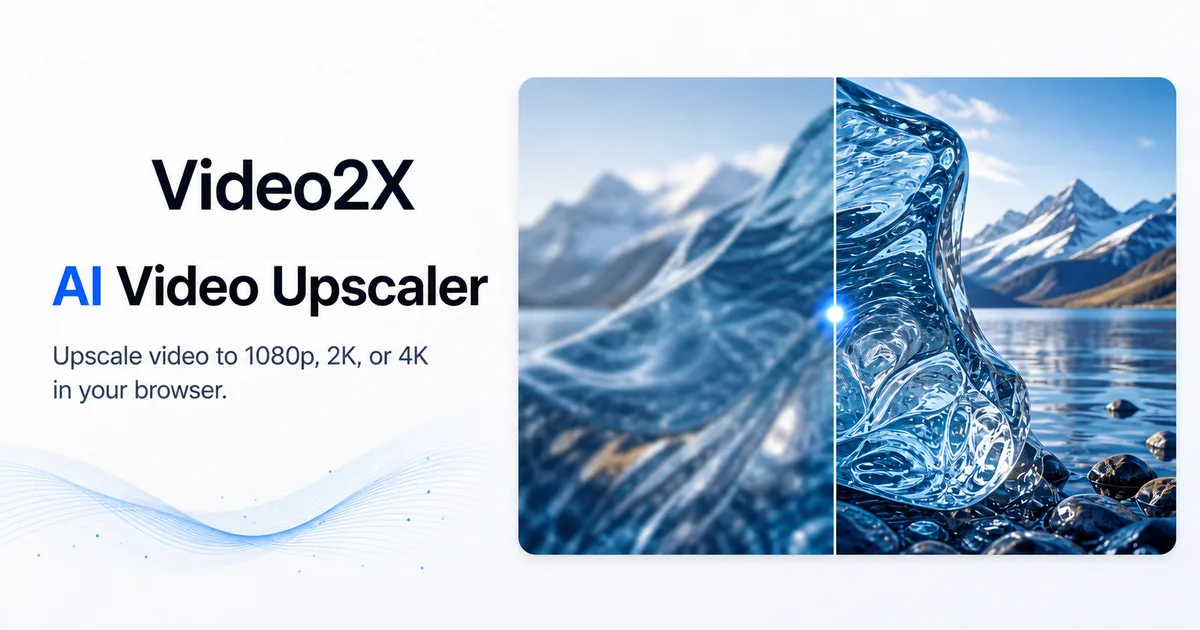
Video2x official website homepage showing the product interface and primary workflow

.png?_a=BAVMn6E80)